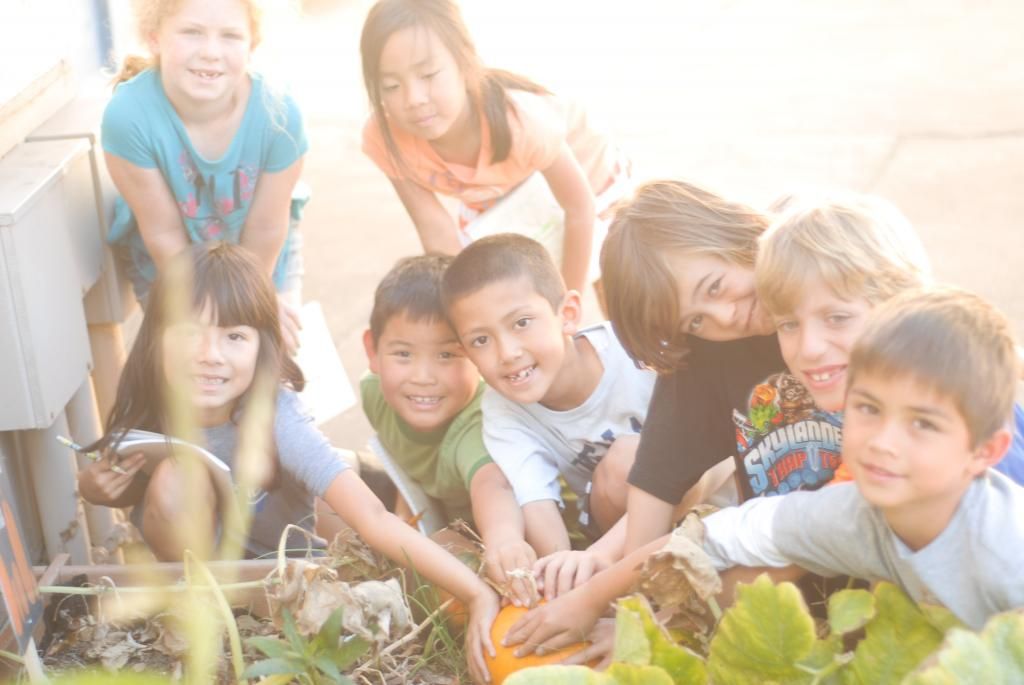
We were lucky enough to get a couple pumpkins in our garden, but store-bought pumpkins and squashes work too, we supplemented with a couple of those. We are planning to have a garden box or 2 next year dedicated just to growing pumpkins so all the classes can use it.
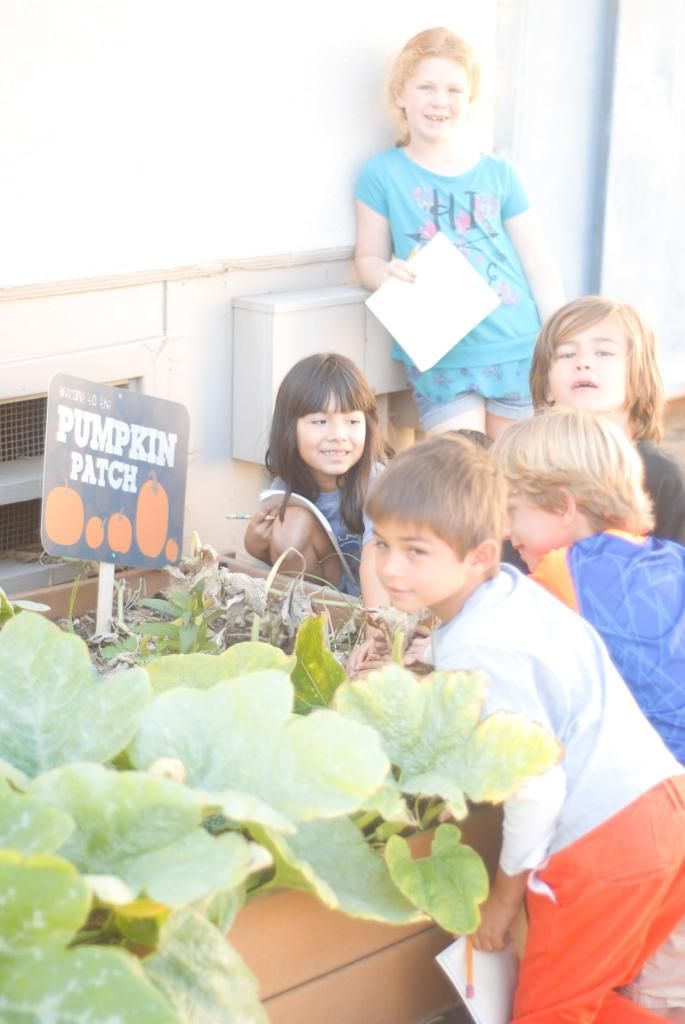
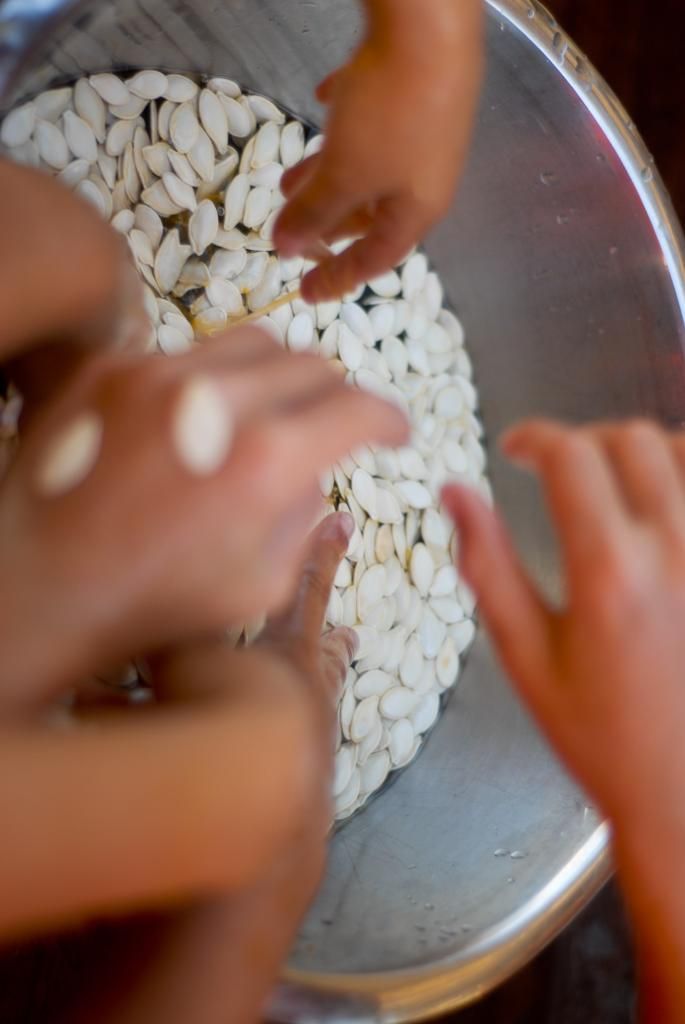
After cutting open the pumpkin and talking about it's different parts, we Seed it. We have a great poster in the Supplies area that talks about the parts of the pumpkin (flesh, skin, pulp, seeds etc)
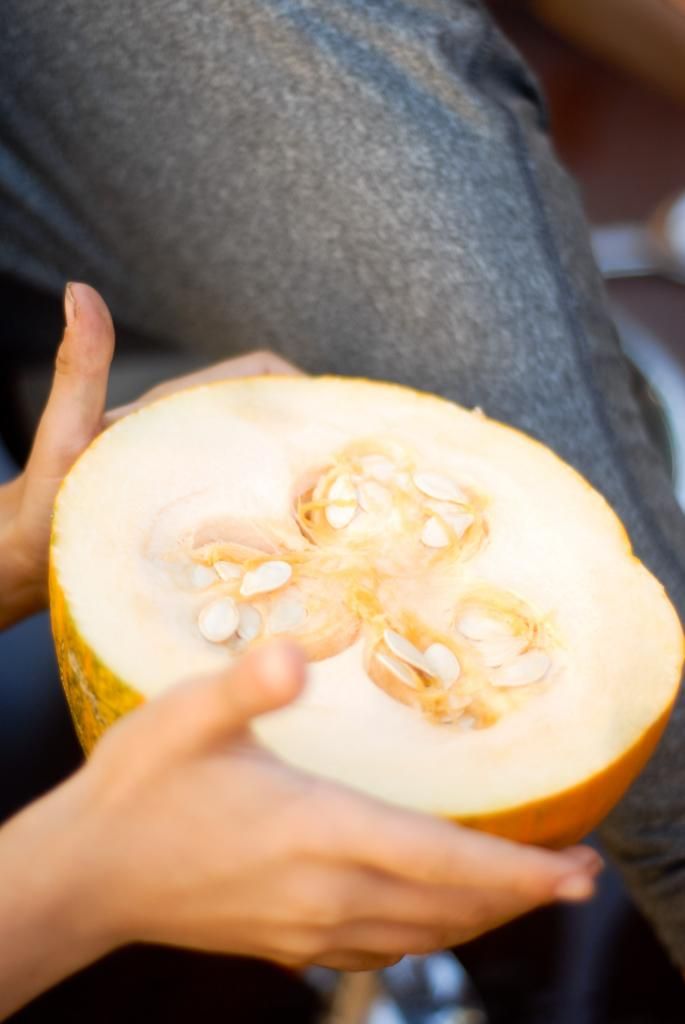
We had bowls of water for the kids to seed the scoop out the seeds from the stringy pulp. In the pulp you can see little translucent baby seeds that didn't develop all the way. The kids enjoyed finding seeds in different stages of development, and looking at the way the pulp actually grows the seeds (magnifying glasses encouraged). This is a great culmination to the lesson on pollination, and how flowers make fruit which make seeds.
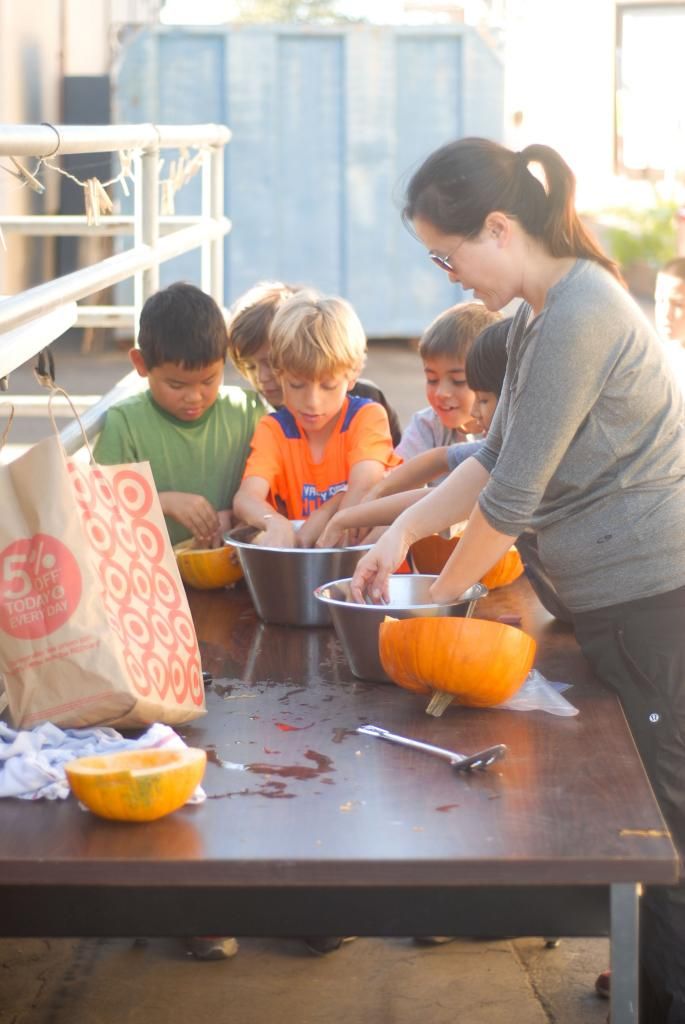
Have kids shake seeds in the water to clean them from the pulp. Wrap them in paper towels to dry. Don't store wet pumpkin seeds in a ziploc bag- they will mould. This whole process takes about 10 minutes. We divided the class into 3 or 4 small groups and gave each group one pumpkin half (2 small pumpkins total). Other rotations included reading a pumpkin book, replanting/observing in the garden, and checking out flowers in the Discovery Garden.
Bring scooped out pumpkin halves home and place face down on a baking sheet lined with tinfoil (to make cleanup a snap). Add 1/4c water and bake at 375 for about an hour until the flesh is soft. When cooled, wrap the pumpkin halves in saran wrap and freeze until next lesson or puree up the soft pumpkin- voila delicious fresh pumpkin puree for baking delights.
Lesson 2. (Need bowls, spoons, and ingredients)
Make sure you take out pumpkin halves from freezer in time to be completely thawed for class. Divide into four groups, one group for each pumpkin half.
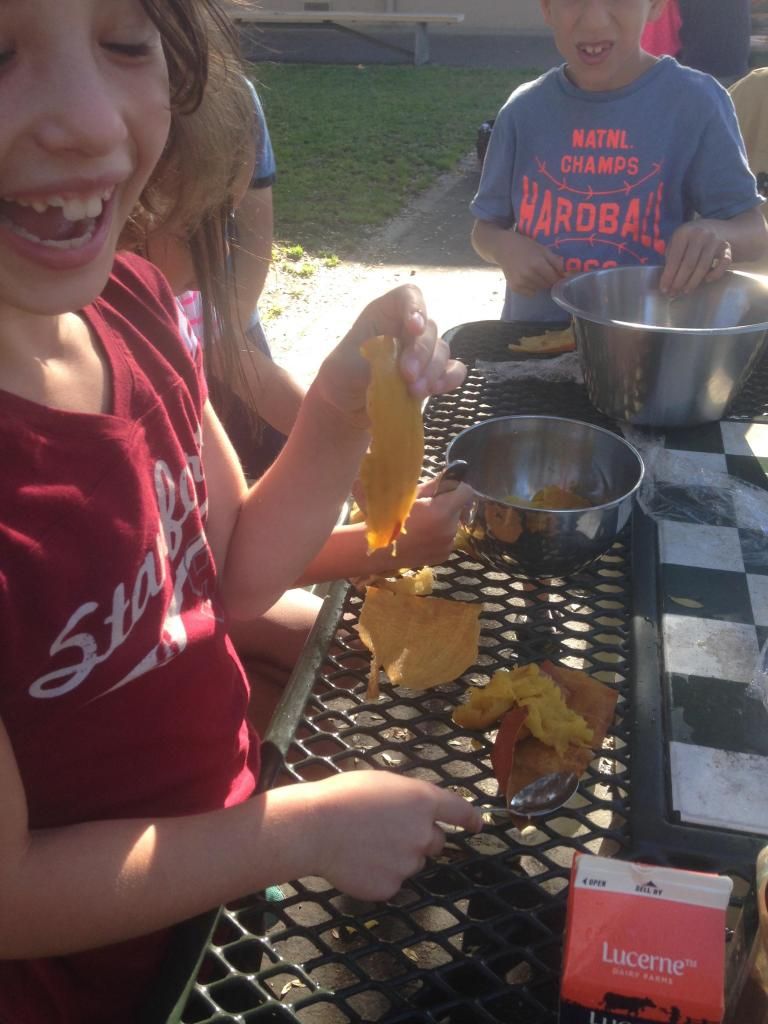
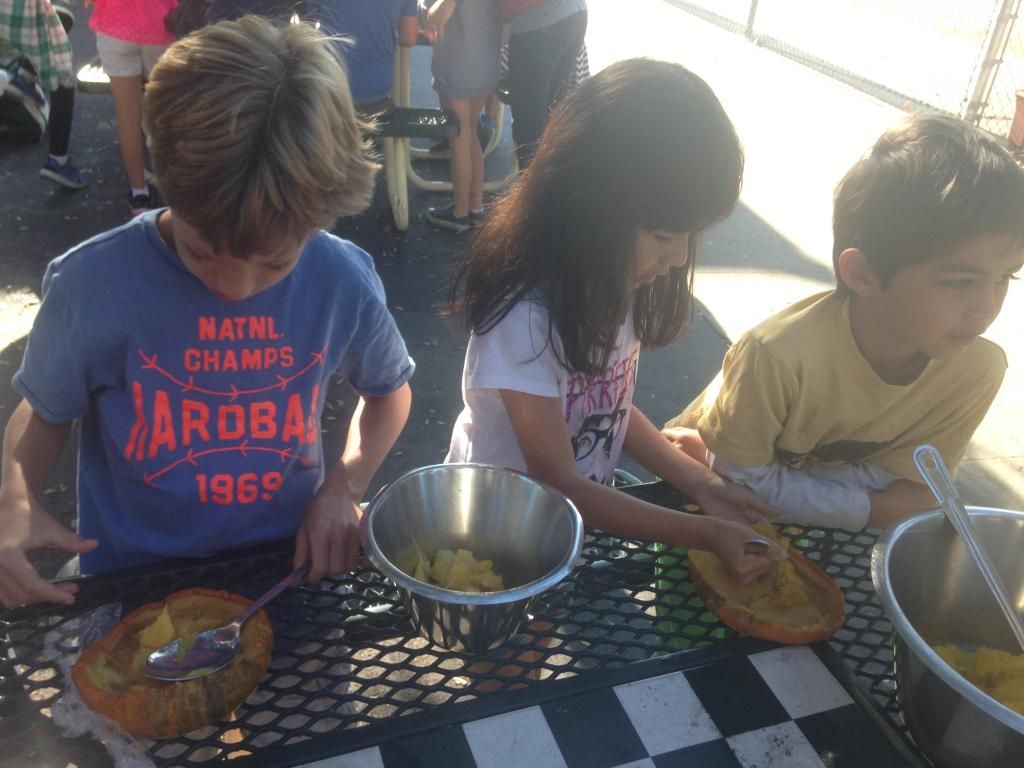
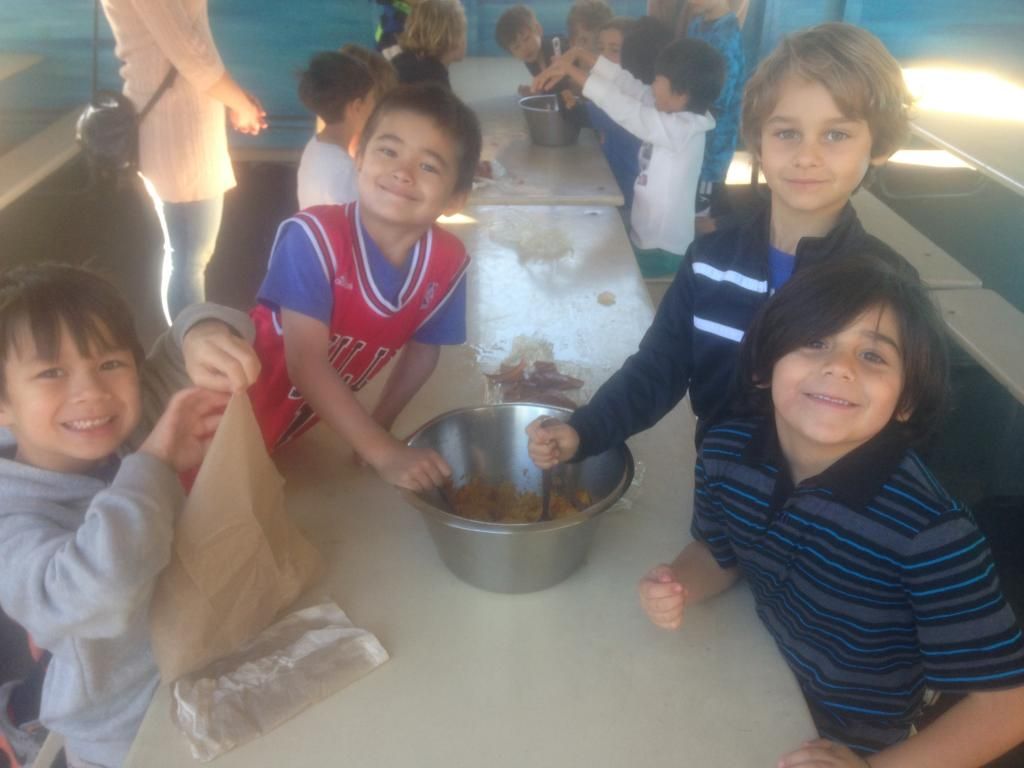
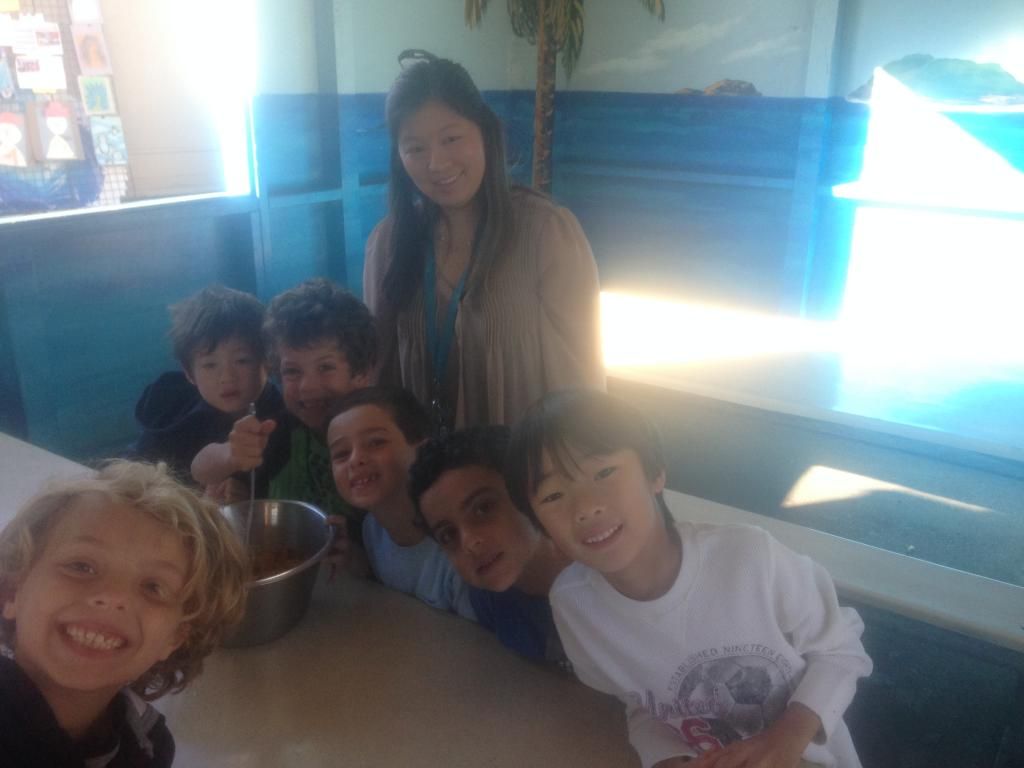
The 2nd and 3rd graders added ingredients to the mash to make the pumpkin pie filling, which we brought home to bake. The 1st graders just mashed the pumpkin and then we added ingredients at home, baked and brought it back.
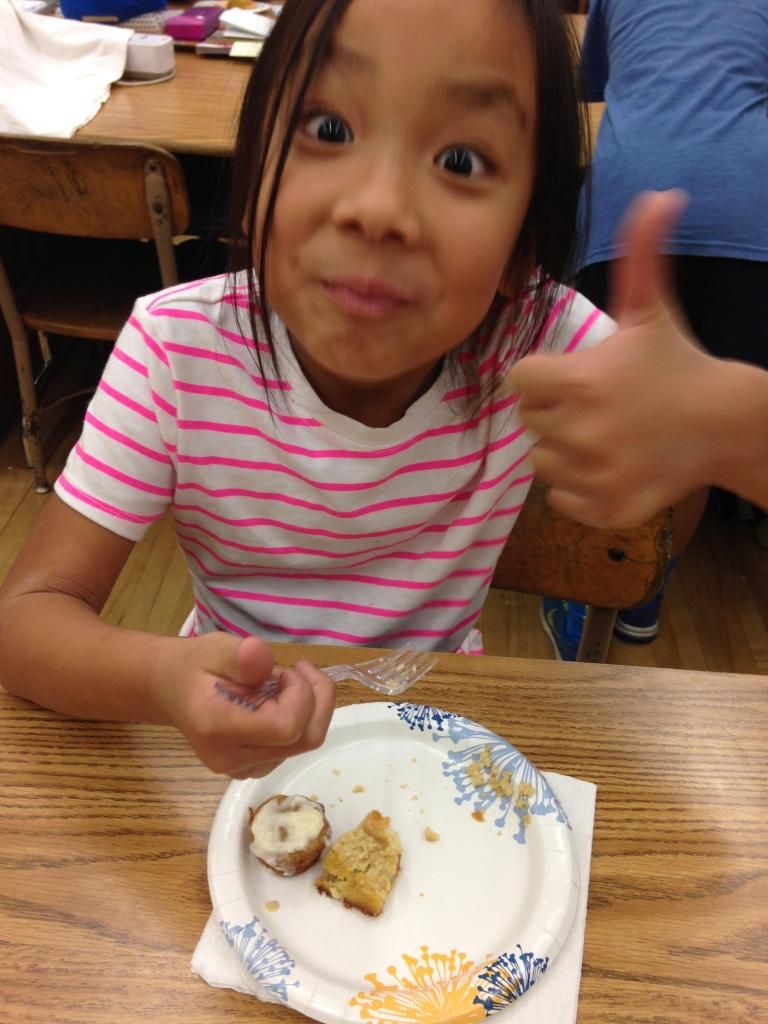
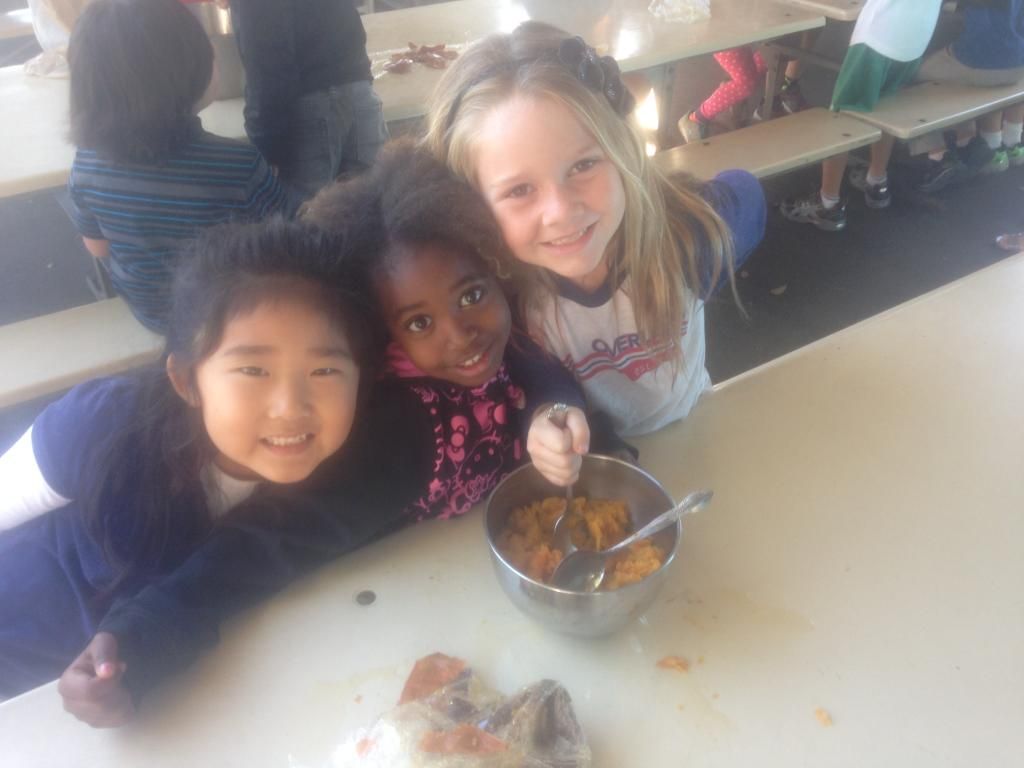
We brought back pumpkin food at the end of the same day and it was a big hit. Alternatively you can skip the 2nd lesson and bring the food. However it's neat for the kids to see how we get the pumpkin filling.
Here are recipes. The pumpkin butter has maple syrup and no refined sugar. We served it on fresh homemade bread and it was delicious- lots of requests for seconds.
Crock-Pot Pumpkin Butter
Moist, Delicious Pumpkin Bread/Muffins (I added a little sweetened cream cheese on top)
Pumpkin Pie (I don't use pie weights)
Super Easy Homemade Bread
Kira Kosove's Pumpkin Soup:
2 c. pumpkin puree
1 quart chicken broth
1/3 cup good maple syrup
Salt and pepper
1/2 an onion
1 sprig fresh thyme
1 potato cubed
1-2 carrots chopped
Pinch nutmeg
Pinch allspice
1 cup cream (or more)
Sauté the onion. Add pumpkin, chicken broth, syrup and spices.
Generously salt and pepper. Add cubed potato and carrots. Adjust spice as needed. Purée. Add cream, reheat. Serve with a drizzle of sour cream or bacon or croutons.
No comments:
Post a Comment